Views: 40 Author: Site Editor Publish Time: 2024-07-23 Origin: Site


Before jumping into the installation, it's essential to prepare the room properly. Start by ensuring the subfloor is level, clean, and dry. Remove any existing flooring if necessary, and let the SPC planks acclimate to the room temperature and humidity for at least 24 hours. This will prevent any potential issues with expansion or contraction after installation.
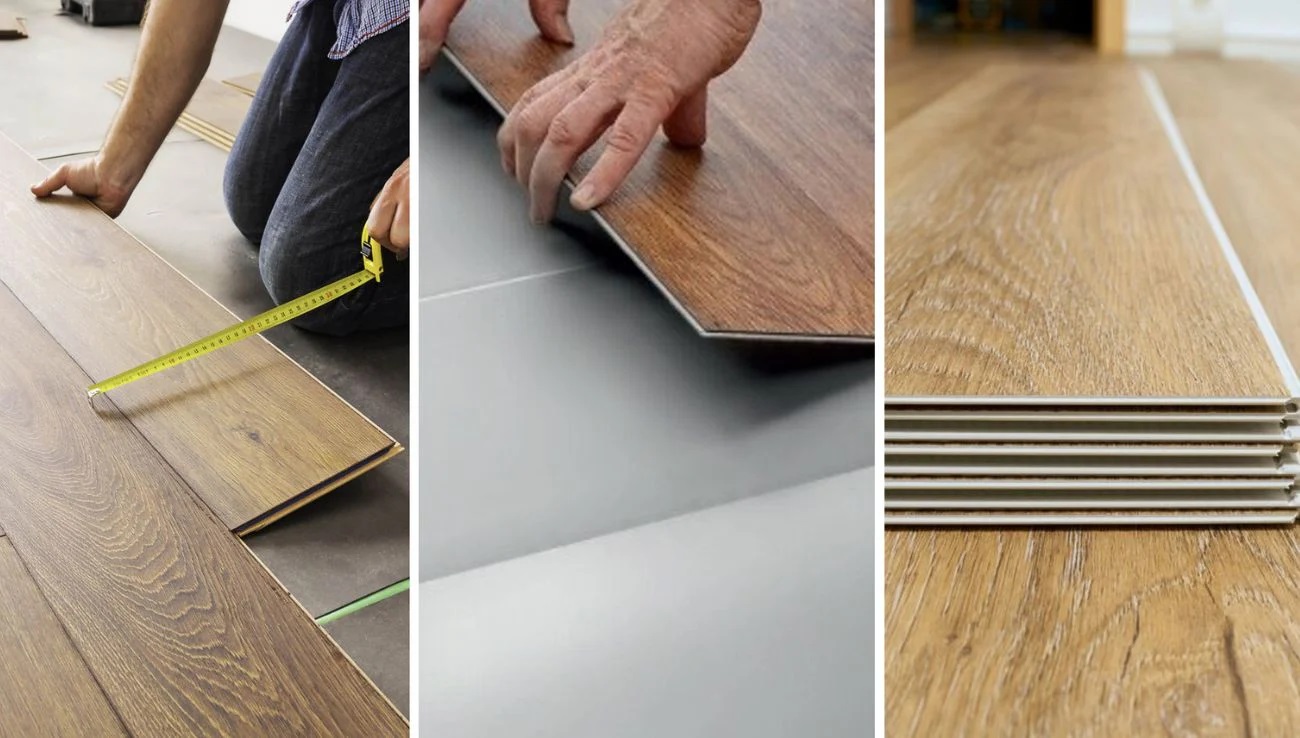
Gather the necessary tools such as a tape measure, utility knife, and rubber mallet. With these in hand, you'll be ready to start clicking the planks into place, creating a seamless appearance. SPC flooring is a perfect blend of style and practicality, offering a robust and water-resistant solution for high-traffic areas.
SPC flooring installation is straightforward with its rapid-lock click system.
Proper room preparation and acclimation are crucial for a smooth installation.
Gather necessary tools to facilitate easy installation of SPC planks.
Before installing SPC flooring, several preparatory steps must be taken. Ensuring accurate measurements, verifying batch consistency, and allowing for proper acclimation will help achieve a successful installation.
Accurate measurements are crucial. Start by using a tape measure to determine the length and width of each room. Record these dimensions to calculate the total square footage needed.
Next, take note of any obstacles or irregularities such as alcoves, doorways, and cabinets. This helps in planning your cuts and ensures that you purchase enough material.
A detailed floor plan can be useful for making sure you don't overlook tricky areas. Multiple measurements at different points can help identify any inconsistencies in the room’s dimensions. Having these measurements handy saves time during installation.
Before installation, check the batch numbers on your SPC flooring packages. It's vital to use flooring from the same batch to ensure color and texture consistency.
Different batches can have slight variations that become noticeable when laid out over a large area.
If the product code or batch number isn’t clearly marked, make sure to inspect each plank closely before starting. This little extra step can make a big difference in the final finish.
It's also helpful to have a few extra planks from the same batch for future repairs or replacements.
SPC flooring needs time to acclimate to the room where it will be installed. Place the unopened boxes of flooring in the installation area for at least 24 hours.
This process allows the material to adjust to the room's temperature and humidity, reducing the risk of expansion or contraction after installation.
Store the boxes flat rather than upright to avoid warping. Keeping the temperature between 2°C and 40°C is also essential, as extreme temperatures can affect the planks.
Acclimating the flooring ensures that it remains stable and performs well over time.
Before installing SPC flooring, it's vital that the subfloor is well-prepared to ensure a smooth installation. We need to address different methods for wood and concrete subfloors, focusing on moisture control, leveling, and suitable treatments.
First things first, make sure the wood subfloor is structurally sound. We don't want any loose boards creaking beneath the fabulous new SPC flooring! Sand down any humps and fill gaps with a suitable wood leveling patch.
Checklist:
Moisture Content: Ensure the wood subfloor has a moisture content of less than 12%.
Leveling: The wood subfloor must be level to within 3/16" over a 10-foot span.
Cleaning: Remove any dirt, dust, or debris.
Underlayment: Install an appropriate underlayment to provide a moisture barrier and additional stability.
Proper preparation and attention to detail will help us achieve a flawless SPC flooring installation.
Concrete can be trickier due to potential moisture issues. We start by ensuring the concrete subfloor is completely cured—at least 60 days old. Next, test the moisture level; it should be below 9%.
Steps:
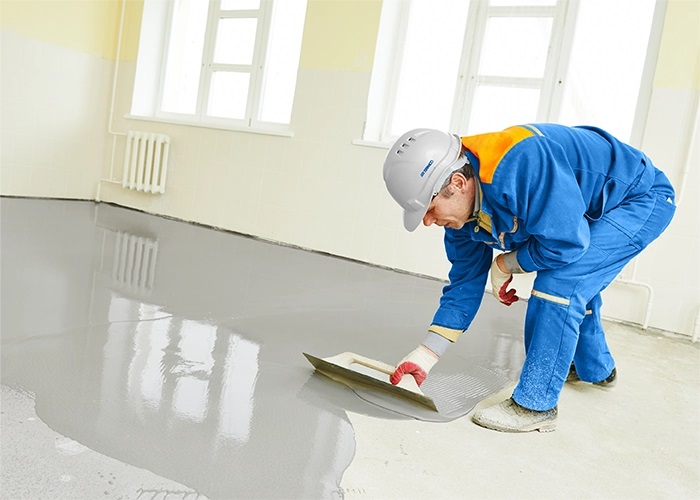
Leveling: Use a Portland-based leveling cement to fill any voids or dips.
Moisture Mitigation: Apply a moisture barrier if necessary.
Cleaning: Make certain the surface is clean and free of any adhesives or debris.
Checking Humidity: Aim to maintain indoor humidity levels between 35% and 55%.
Following these steps ensures our SPC flooring will lock in place securely and last for years, whether in a living room or high-moisture area like a basement.
Let's tackle those obstacles first. Moving and storing loose furniture and appliances aside is crucial. We wouldn't want to trip over a stray chair during our SPC flooring installation.
Sometimes, wall and doorway trims can get in the way. Removing them can make the process smoother. Keep them aside safely—you'll need them later.
When you're dealing with corners, be extra attentive. Precision is key. Measure the angles meticulously to avoid any unsightly gaps.
Obstacles like pipes and vents require some crafty solutions. We can use a jigsaw to cut the planks just right. Make sure they fit snugly around these hurdles.
If you encounter uneven surfaces, it's essential to level them out. Use a self-leveling compound if necessary. This step ensures that your SPC flooring lies flat and looks seamless.
Focus on removing anything that could disrupt the installation. Even small objects can lead to gaps or misaligned planks.
Remember, preparation is half the battle. Removing obstacles effectively will make the actual installation a lot smoother and quicker. Ready to get going? Let's do it!
Let’s talk about the comfort factors when installing SPC flooring, especially in places like basements. We need to ensure the temperature is stable between 65°F and 85°F. This range helps prevent any warping or damage to the flooring. Got that?
Humidity levels are just as important, folks. We should keep it stable. A humidity range of 30-50% is ideal. Think of it like keeping our home cozy and dry, avoiding that sticky, damp feeling.
Temperature changes can affect the installation too. For example, if you’re installing in an area with in-floor radiant heating, make sure the subfloor doesn't exceed 85°F. Also, keep the initial floor temperature under 70°F for a couple of days before and after installation.
It can be tempting to rush these steps, but patience pays off. A week of consistent temperature and humidity before installation ensures a smooth setup. This isn’t just technical stuff. It’s about creating a lasting, comfortable environment.
Remember, SPC plank flooring is designed for floating installation. Allowing for proper expansion space, around 1/4 inch, ensures stability with changing temperatures. This little space means our flooring can adjust naturally without buckling or gaps.
Isn’t it amazing how a bit of attention to these details creates a better living space? Keeping our floors and homes cozy and stable isn't just smart, it's essential.
Alright, folks, before we dive into the actual installation of SPC flooring, let's make sure we've got everything we need.
First up, let's gather the materials. Ensure you have your SPC planks ready. Remember to keep the planks flat, not upright, to avoid bending.
Next, we'll need a handy tape measure. You don’t want any surprises when it comes to fitting those pieces together. Measure twice, cut once.
A utility knife is another must-have. This tool will help you make precise cuts without much hassle.
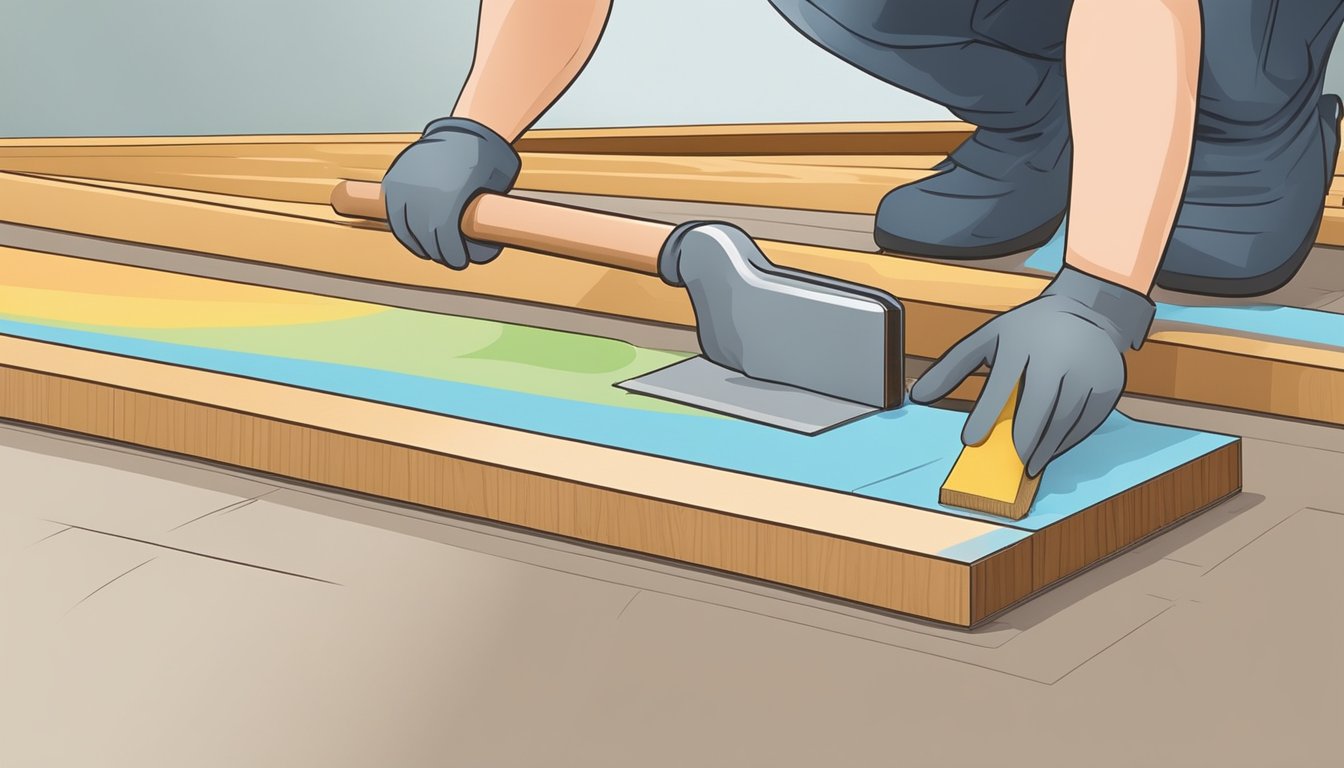
Tapping blocks and rubber mallets are essential for fitting the planks snugly together. The tapping block will help distribute the force evenly, while the rubber mallet prevents damage to the planks.
We also need a pull bar. This tool is crucial for getting those tight spots, especially near walls, perfectly aligned.
Can’t forget about spacers! These little tools ensure you leave the right gap around the edges for expansion.
Bring along a saw. A jigsaw or miter saw works wonders for cutting the planks to size.
Here's a quick checklist to keep things simple:
Tape measure
Utility knife
Tapping block
Rubber mallet
Pull bar
Spacers
Saw
Got everything? Great! Now we’re all set to start laying that gorgeous SPC flooring. Let's roll up our sleeves and get to work!
Ready to give your floors a makeover? Let's dive in! Installing SPC flooring can be a breeze if you follow these simple steps.
First things first, let’s acclimate our SPC flooring. Stack the boxes flat in the room where you'll install them and leave them for 48 hours. This helps the planks adjust to the room’s temperature and humidity.
Prepare Tools you might need as above.
Time to prepare your room! Remove all furniture and any existing flooring. Ensure the subfloor is level, clean, and dry. For existing tiles, fill any deep grout lines with an embossing leveler.
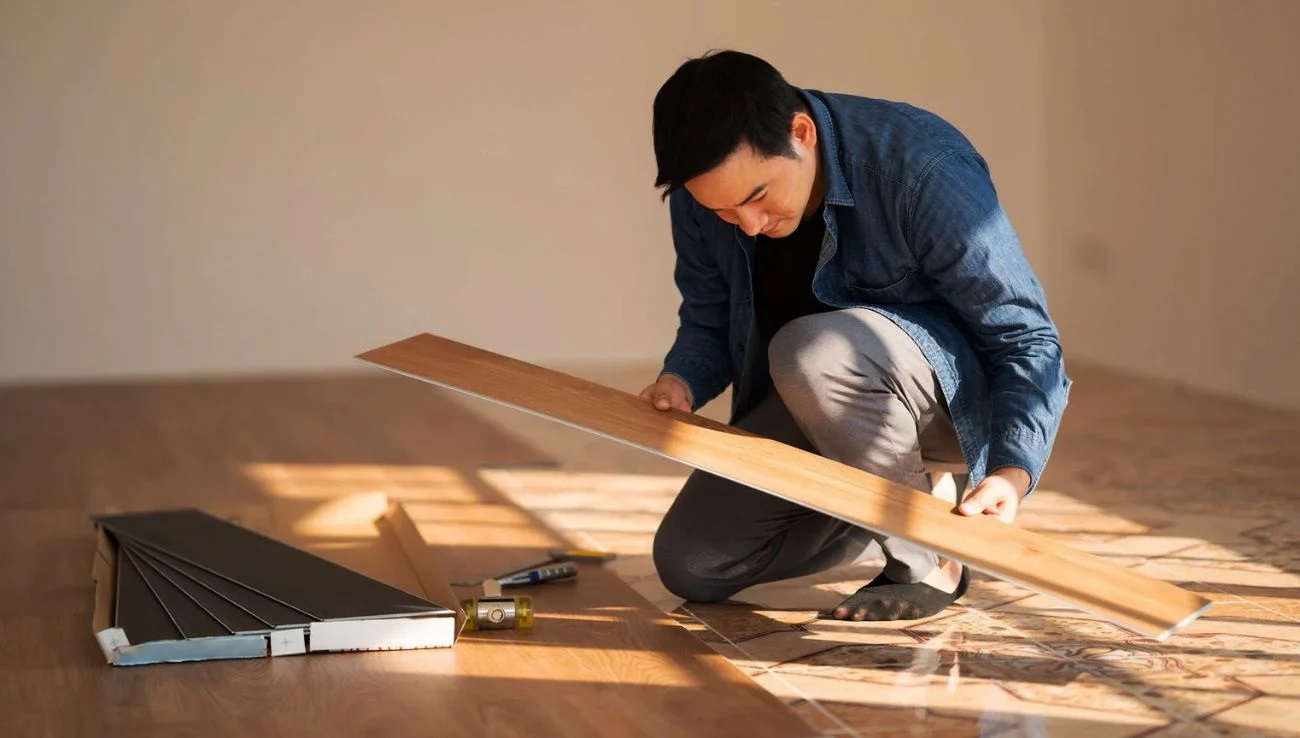
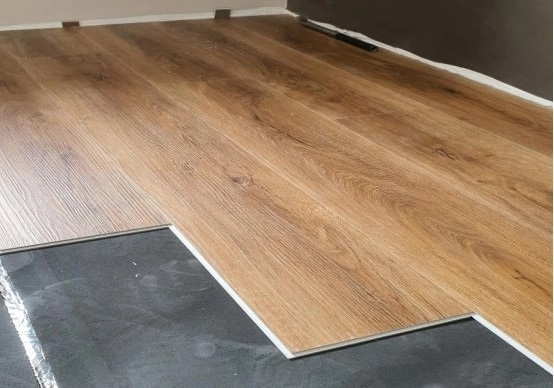
Here comes the fun part—layout. Start by laying the first plank in a corner, slotted side facing the wall. Use spacers to maintain a gap of around 1/4 inch from the walls. This allows for expansion.
Next, use the locking system. Click the planks together by inserting the tongue into the groove at a slight angle and pressing down. You might need a tapping block and mallet to ensure they lock tightly.
Remember, SPC is durable and long-lasting, making it perfect for high-traffic areas like stairs.
Check the corners and edges where planks meet the walls. Cut planks to fit using a utility knife. Don't forget to use spacers consistently to prevent shifting.
We're almost done! Once all planks are laid, remove spacers and add baseboards to cover the expansion gaps.
And that’s it. With these steps, you'll have a stunning and sturdy new floor in no time! Enjoy your hassle-free installation process.
When installing SPC flooring, several questions often arise about the surfaces it can be applied to, costs, and the difficulty level. Let's get into these details.
Yes, SPC flooring can be installed on concrete. Make sure the concrete surface is clean, dry, and level.
A moisture barrier, like a polyethylene sheet, is recommended to prevent any moisture issues.
The average cost of installing SPC flooring varies. Typically, professional installation can cost between $2 to $5 per square foot.
This excludes the price of the flooring itself, which ranges from $3 to $7 per square foot.
While SPC flooring is durable, it can still be prone to scratches from heavy foot traffic.
Maintaining it is relatively low-maintenance, but avoiding dragging heavy furniture across it will help keep it looking pristine.
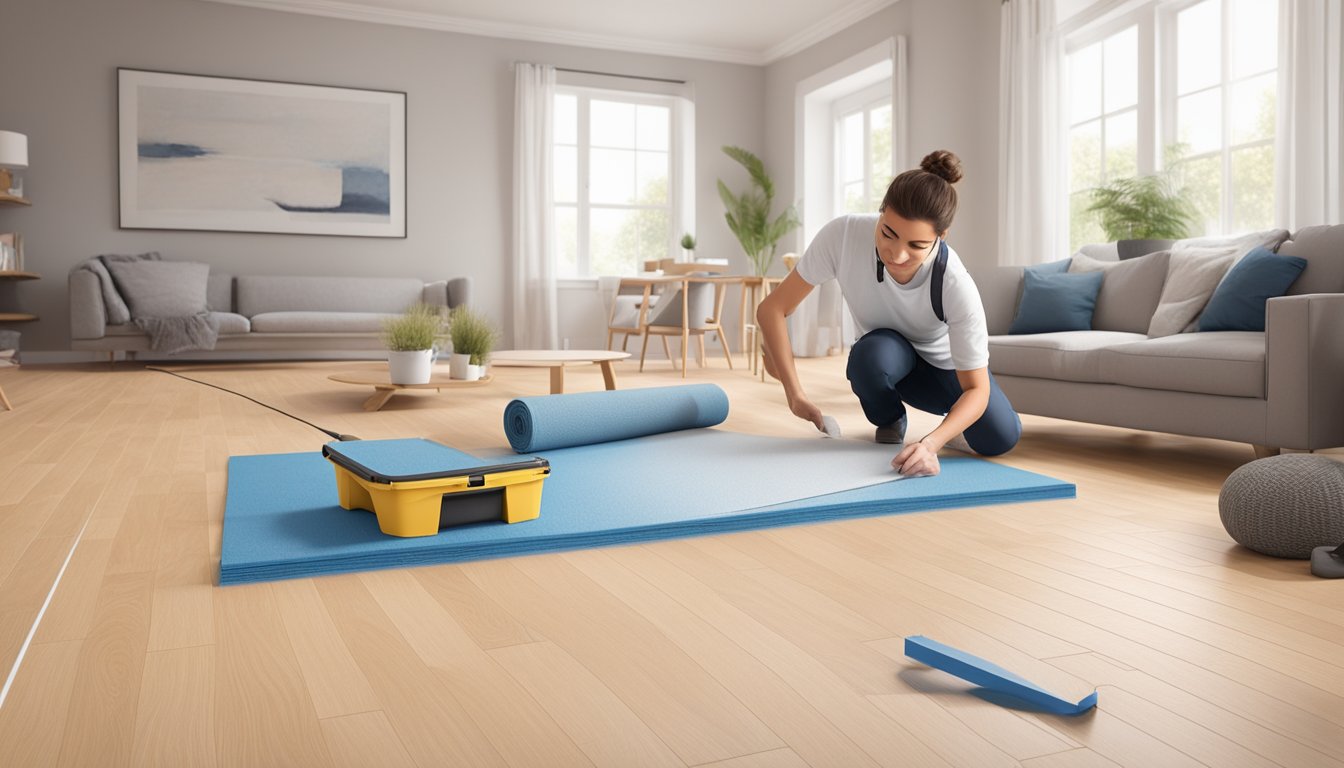
It's advisable to place an underlayment beneath SPC flooring.
This not only helps with soundproofing but also provides a moisture barrier and makes the floor more comfortable to walk on.
SPC flooring can usually be installed without adhesive, thanks to its click-lock system.
However, in high-moisture areas or on stairs, you might want to use adhesive for extra stability.
The installation process for SPC click flooring is relatively easy for DIYers.
Thanks to the click-lock system, the planks snap together effortlessly. With basic tools and a bit of patience, you can get the job done without professional help.